This is where you tell Rescover who you are — the person behind every report, client page, and analysis you share. The data on this page appears on your client-facing materials, so take a few minutes to fill it in completely before you start sending anything to clients or prospects.
When to set this up
First thing when you get your Rescover account, before you run your first analysis or share your first property. If you wait, the reports and pages you send out will have blanks, placeholder text, or wrong contact info on them — and you can't always unsend what you've already emailed.
How to get there
- Click Hello, <your name> ▾ in the top-right corner.
- Click Settings.
- Click the Personal tab (leftmost tab, orange when selected).
- Make sure Contact Information is selected in the sub-nav.
URL: https://<your-account>.rescover.com/account/settings#contact-informationTab
What's on this page
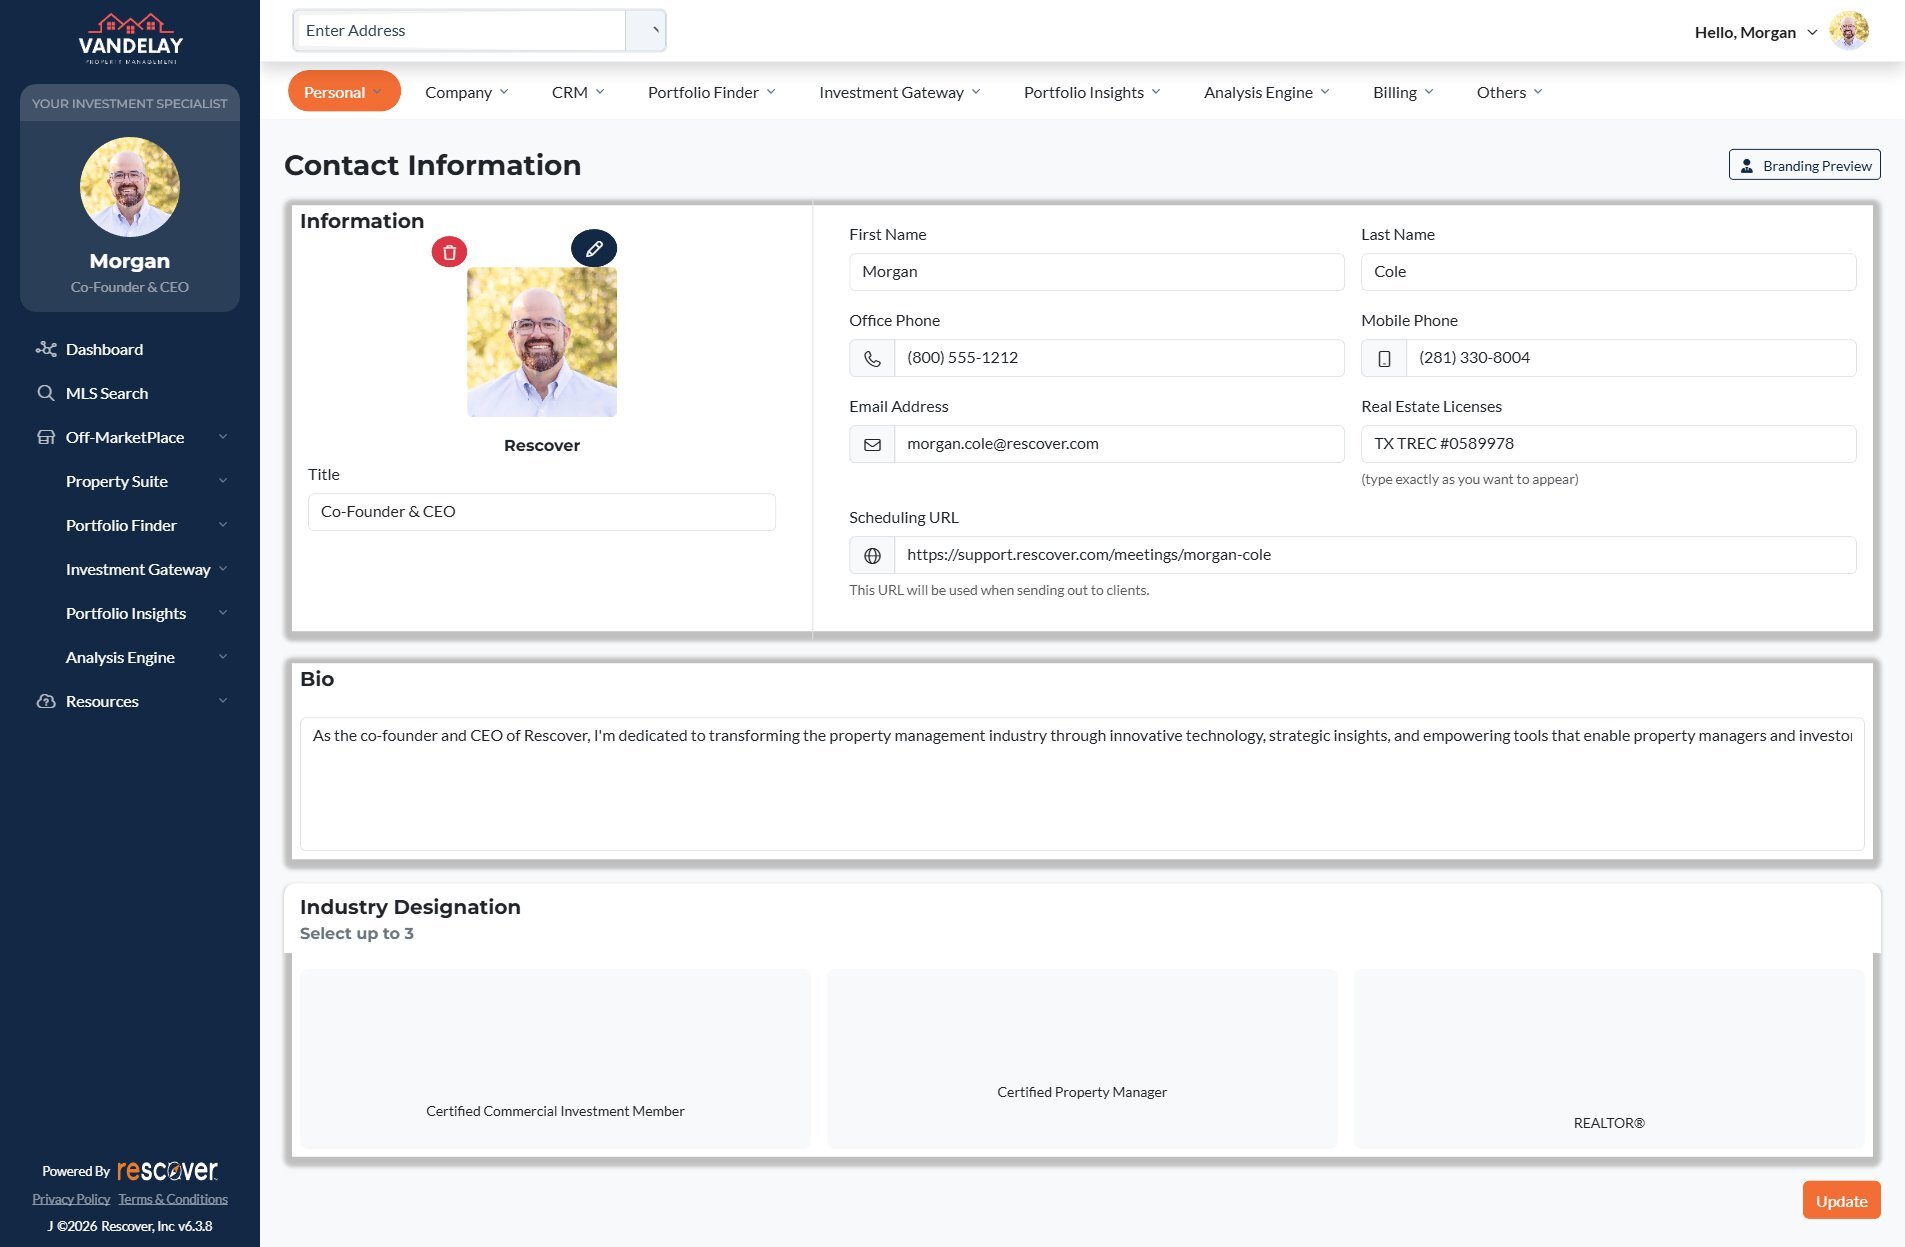
Information panel (left)
- Profile photo — the square head-shot that appears on your client pages. Click the pencil icon to upload a new one; click the red trash icon to remove the current one. Recommended: square aspect ratio, well-lit, face clearly visible. The same photo is used everywhere, so pick one that works for both marketing pages and professional reports.
- Title — your job title as it should appear to clients (e.g., "Co-Founder & CEO", "Senior Investment Advisor", "Broker Associate"). Free-text.
Contact fields (right)
| Field | What it's for | Who sees it |
|---|---|---|
| First Name | Your given name on client-facing materials | Clients, prospects |
| Last Name | Your family name on client-facing materials | Clients, prospects |
| Office Phone | The desk / company number you want calls to go to | Clients, prospects |
| Mobile Phone | Your mobile line for urgent reach-outs | Clients, prospects |
| Email Address | The inbox that replies to your Rescover emails should go to | Clients, prospects |
| Real Estate Licenses | License string shown in the small print on your materials. The helper text says "type exactly as you want to appear" — that's literal. For example: TX TREC #0589978, FL BK3456789, etc. If you're not licensed, leave blank. | Clients, compliance reviewers |
| Scheduling URL | The calendar link Rescover inserts into outbound emails so prospects can book with you. Typically a Calendly, HubSpot meetings, or Rescover support URL. | Clients receiving scheduling prompts |
Bio
A single longer text block that appears on your public-facing agent page. Treat it like a short "about me" for a website bio — a sentence or two, first-person, what you do and who you help. Rescover shows this verbatim, so edit for tone and length.
Branding Preview
Top-right of the page: a Branding Preview button. Click it to see how your profile renders on a client-facing page (photo + name + title + bio + contact line). Use this as a sanity check after any edit.
Tips
- Fill in both phone numbers. Some workflows route to office, others to mobile. An empty field looks worse than two filled-in numbers.
- Make your Scheduling URL your calendar. Rescover's generated emails reference this link — if it's empty, your prospects have to reply and wait.
- Keep Title short. The title is shown alongside your name in a small space; long titles truncate.
- Your photo is loaded from cache. If you change it and don't see the new one, refresh the page or force-reload (Ctrl/Cmd+Shift+R).